

**I originally posted this on t4r.org a couple of years ago**
When deciding to buy and install a Daystar 2.5/1.5 spacer lift for my 5th Gen 4Runner LE with X-REAS, I realized that there really isn’t too much info for doing this other than, “it can be done”.
There is a lot of back and forth between not disconnecting the Upper Ball Joint (UBJ) vs unbolting the bottom 2 bolts under the Lower Ball Joint (LBJ), etc. but again, nothing really on the actual install with X-REAS.
I wanted to share my experience which I hope will prove useful to others looking to take the same path as I did. Or maybe this thread will wither away into the abyss because no one cares for spacers.
What is a Spacer Lift?
There are two common spacer lifts that can be used in our trucks. One is a pre-load spacer, and the other is a top spacer which is what the Daystar product is.
With a pre-load spacer, the spacer block is installed within the strut between the spring and the top hat. It basically makes your spring longer which gives you your lift. Since you’re compressing your spring (pre-loading) to get the assembly back together you have effectively taken the thickness of the spacer away from your spring travel. This can lead to a more jarring feel to your ride quality.
In a top spacer setup like Daystar’s, the spacer is on top of the top hat. You should retain all the same ride quality as factory, but you have effectively shifted your entire strut down the thickness of the spacer. For some, this could potentially cause issues with the CV angles at full droop. There have been reports of binding at full droop with more than 3 inches of lift. I have not had that problem with my setup.
Is a Spacer Lift Right for You?
So why did I go with a spacer lift when many say, “oh just get the real deal the first time, scrap X-REAS”? Well, our X-REAS is in perfectly good working order and still under warranty for one. We like the ride that it provides and this is still a primary daily driver. Because it’s not used very often off-road, I wasn’t too concerned about lifting without getting any extra travel…yet…but since we have the low hanging LE trim, I wanted to get a little more clearance. And lastly, I do all of my own work on our vehicles, so the cost for the spacers really wasn’t much of a dent in our wallet. Since the install, I am very happy with it. It still rides like the stock X-REAS, and we got that extra clearance we wanted. In our first outing off-road at the Rausch Creek 101 course, we never hit a skid while several of the jeeps were scraping. We also managed to keep the front lip safe too. As far as I’m concerned, this lift has done exactly what we need it to do for the time being.
The Install
I am providing this as a courtesy, and do not claim ANY responsibility for improper installs, broken parts, etc. Do everything at your own risk.
Before anything, crack the lugs on the wheels and then get all wheels off the ground. I was fortunate enough to have a lift, but Jack stands work too. You can do two at a time, but since the X-REAS system is cross linked, it’s ideal to have all four off the ground. Remember you want to get it nice and high so there is room for the suspension to drop when disconnected. Remove the wheels.
Make sure you disconnect the the brackets for the ABS lines so you have more room to hang.

Disconnect your sway bar from the hub, and from the frame. To do this you will need to remove the front skid first, which is just a few bolts.


I personally just let it hinge down, but you may prefer to completely remove it. Antman’s oil change thread should identify the bolts for you if you are unsure. Daystar does not say to disconnect at the frame as far as I could tell but they are removing the entire unit from the vehicle, and since X-REAS has the lines connected to the shocks, you need to be able to maneuver it in different ways to keep everything in tact. I just did one side at a time, so it was not fully disconnected.
Next, remove the 3 nuts from the top of the strut mount. I would highly recommend ratcheting wrenches vs 3/8th socket ratchet for this. You will still likely be moving little by little but you’ll get there eventually.

From here I began to unbolt the bottom shock mount.

Once that bolt is removed, loosen the upper ball joint (UBJ). You will need to remove the cotter pin first, and then get to cranking. When the nut comes off, you will have to separate the joint. I did NOT use a BJ separator, just a hammer. I gave the UBJ some love taps on the side of it and it “popped” off. Make sure you don’t just let whole assembly freely drop. A good trick is to leave the castle nut on the last thread or two while knocking the joint loose.

Because I had a lift, I placed both legs under the hub and used them to cradle the assembly. If you can’t position yourself like that, you may want to get creative with a bungee cord or ask for an extra set of hands. At this point the suspension will be hanging pretty low and you should be able to start wiggling the strut out. Start with the bottom mount, and pull it towards you. Then you will want to start directing the bottom toward the sway bar (front of vehicle). Because you have loosened the bar, it should tuck down there pretty easily. DO NOT DISCONNECT AND BE CAREFUL NOT TO OVEREXTEND THE X-REAS LINES.

Grab the top and start to pull that toward yourself, pushing up on the UCA so the strut will fit under it. You should now be in a perfect position to start assembling the Daystar products which is explained sufficiently in their documents.
Getting the strut back in is a little tougher now that it’s a couple inches taller, but it should still be pretty straight forward. You’ll have to start by getting the bottom aligned in it’s mount, and then push the top back into the strut mount (lifting up on the UCA). You may have to apply some downward pressure on the LCA to get the strut in. Once it’s back in place, bolt everything back up and repeat on the other side!
For the rears, the instructions from Daystar are sufficient since you really don’t need to move the rear shock much (just unbolting the bottom).

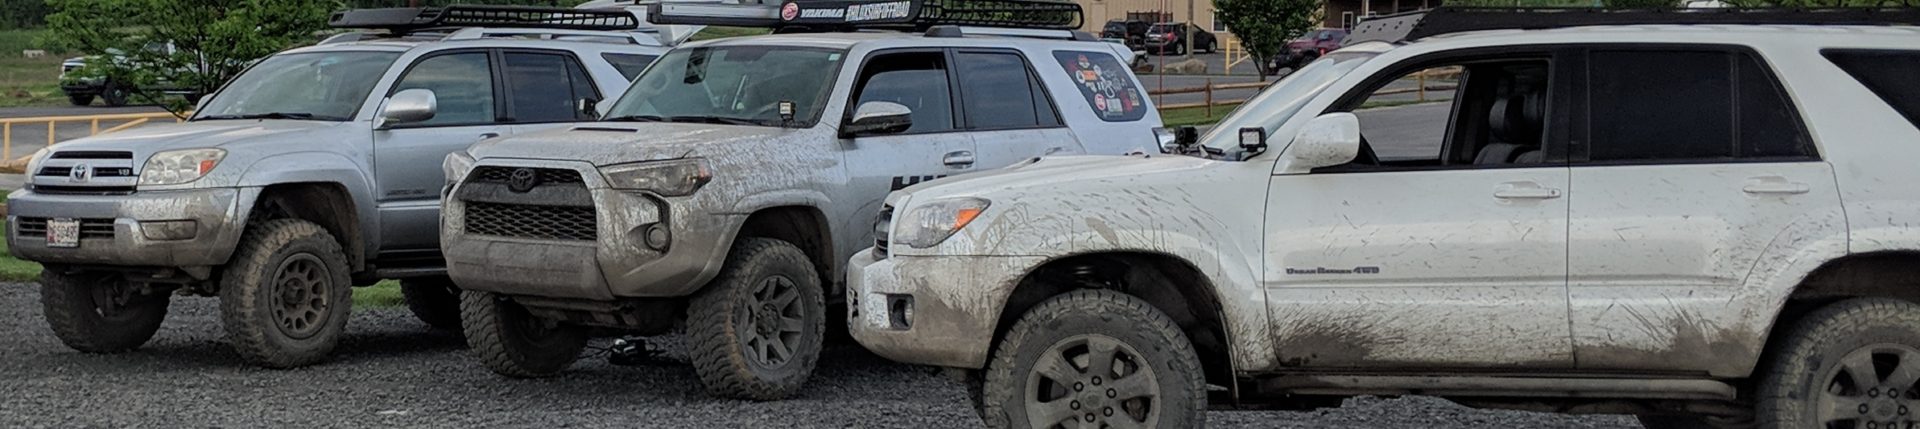
When you’re all done, sit back and admire
Don’t forget to get an alignment!
